Single Gauge Bezel — Install Guide
The single gauge bezel and blank panel both pull straight out from the dash face — no screws, no clips behind them. Use a trim tool or a cloth-wrapped flathead at the edge, or just work a finger behind it and pull. Take your time — the surrounding dash plastic is original and doesn't need any extra stress.
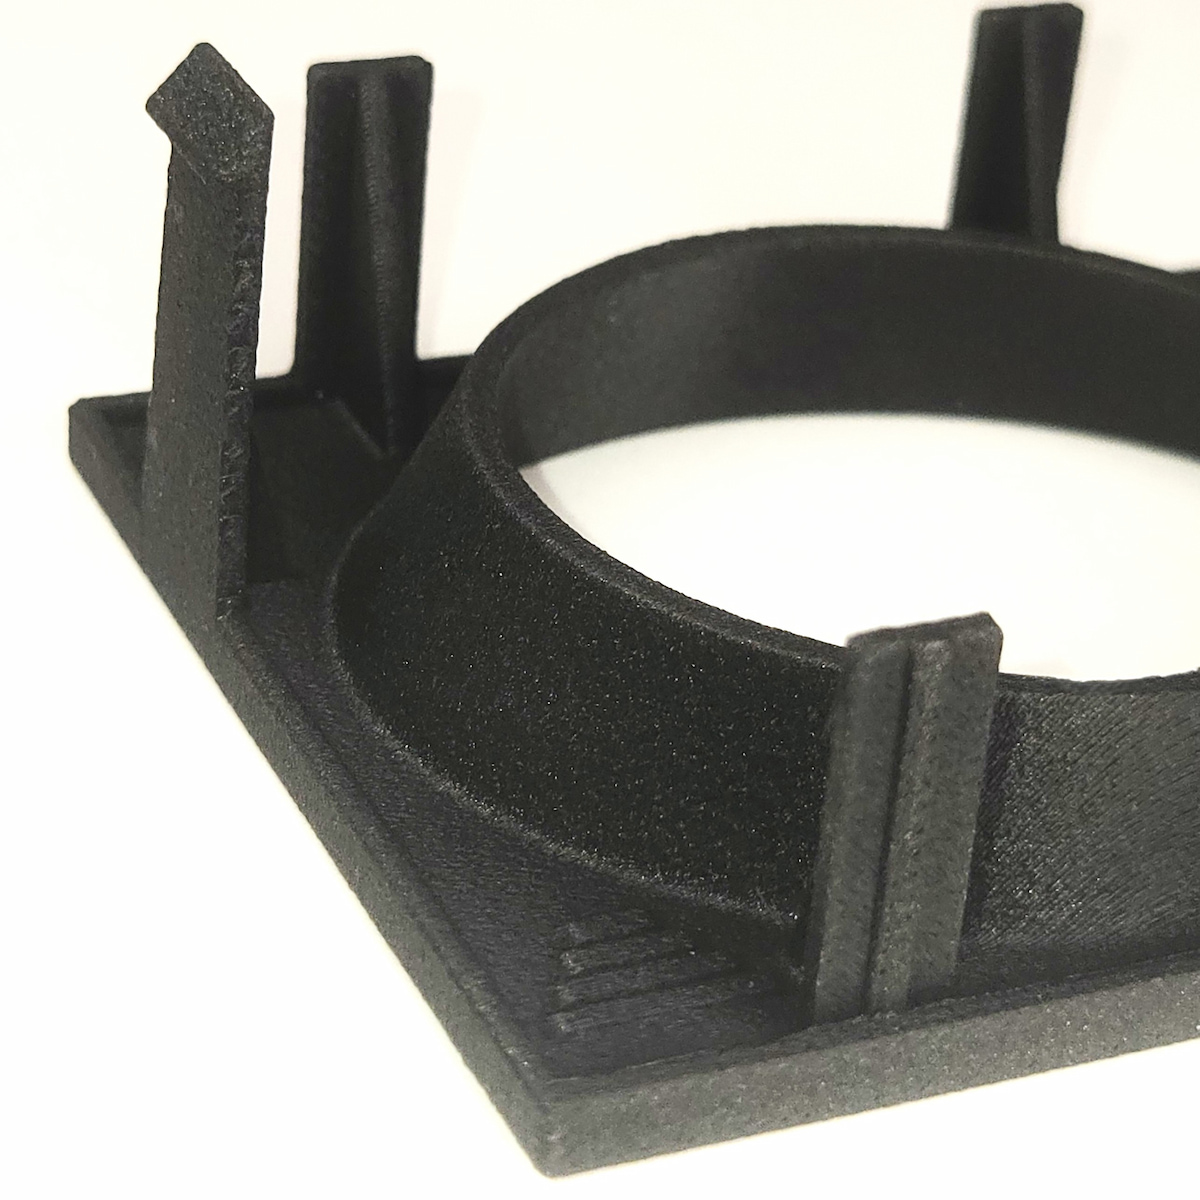
Before pressing the new part in, hold it up and locate the mounting tabs on the back. Note how they align with the corresponding holes in the dash opening. The bezel only installs one way — confirm the tabs are lined up before you press.
With the tabs aligned, press the bezel evenly into the opening until it seats flush with the dash face. No tools needed — firm hand pressure is enough. If it's resisting, pull it back out and recheck the tab alignment rather than forcing it.